This is a blog dedicated to helping people learn how to construct many different kinds of origami models!
Monday, June 29, 2015
Sunday, June 21, 2015
Saturday, June 20, 2015
Origami Paper Dimensions

Usually, i use paper with the dimensions of 8 x 8 inches (about 20 x 20 cm). This is for an average sized model. For smaller models, I'd suggest 6 x 6 inches (about 15 x 15 cm), but i wouldn't go smaller than 4 x 4 inches (about 10 x 10 cm.) People will fold larger models, up to 20 x 20 inches (about 51 x 51 cm). If I want a larger model, I usually will go up to 12 x 12 inches (about 30 x 30 cm) at the most.
Wednesday, June 17, 2015
Origami: Relaxing
Once you get past the frustration of learning a new model or a particular fold, origami is a very relaxing hobby. The satisfaction of folding a flat piece of paper into something beautiful and new is elating. Having soothing music while folding a model is a favorite past time of mine.
Monday, June 15, 2015
Types of Origami Paper
Origami Paper

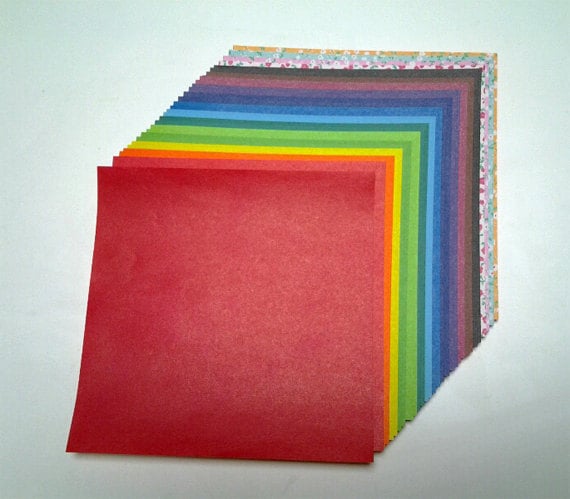
When people think origami, this is the type of paper they think of. Origami paper is a square shape, with the same dimensions for length and width. Typically, one side is colored, while the other side is white. It comes in all kinds of colors and patterns, including abstract and animal prints.

Duo paper similar to origami paper; however both sides are colored, instead of just one side. It is usually used for origami models in which both sides of the paper are visible.

Like Origami paper, foil paper is colored on one side and white on the other. However, the paper is foil material, making for shiny models. Be careful, though: the foil paper holds creases extremely well, so there's no room messing up.


Duo Paper

Duo paper similar to origami paper; however both sides are colored, instead of just one side. It is usually used for origami models in which both sides of the paper are visible.
Foil Paper
Washi Paper
Washi paper is traditional Japanese paper, usually of a softer, lacey texture compared to regular origami paper. It is more delicate than typical paper. It is made of many different types of plant fibers.
Chiyogami Paper
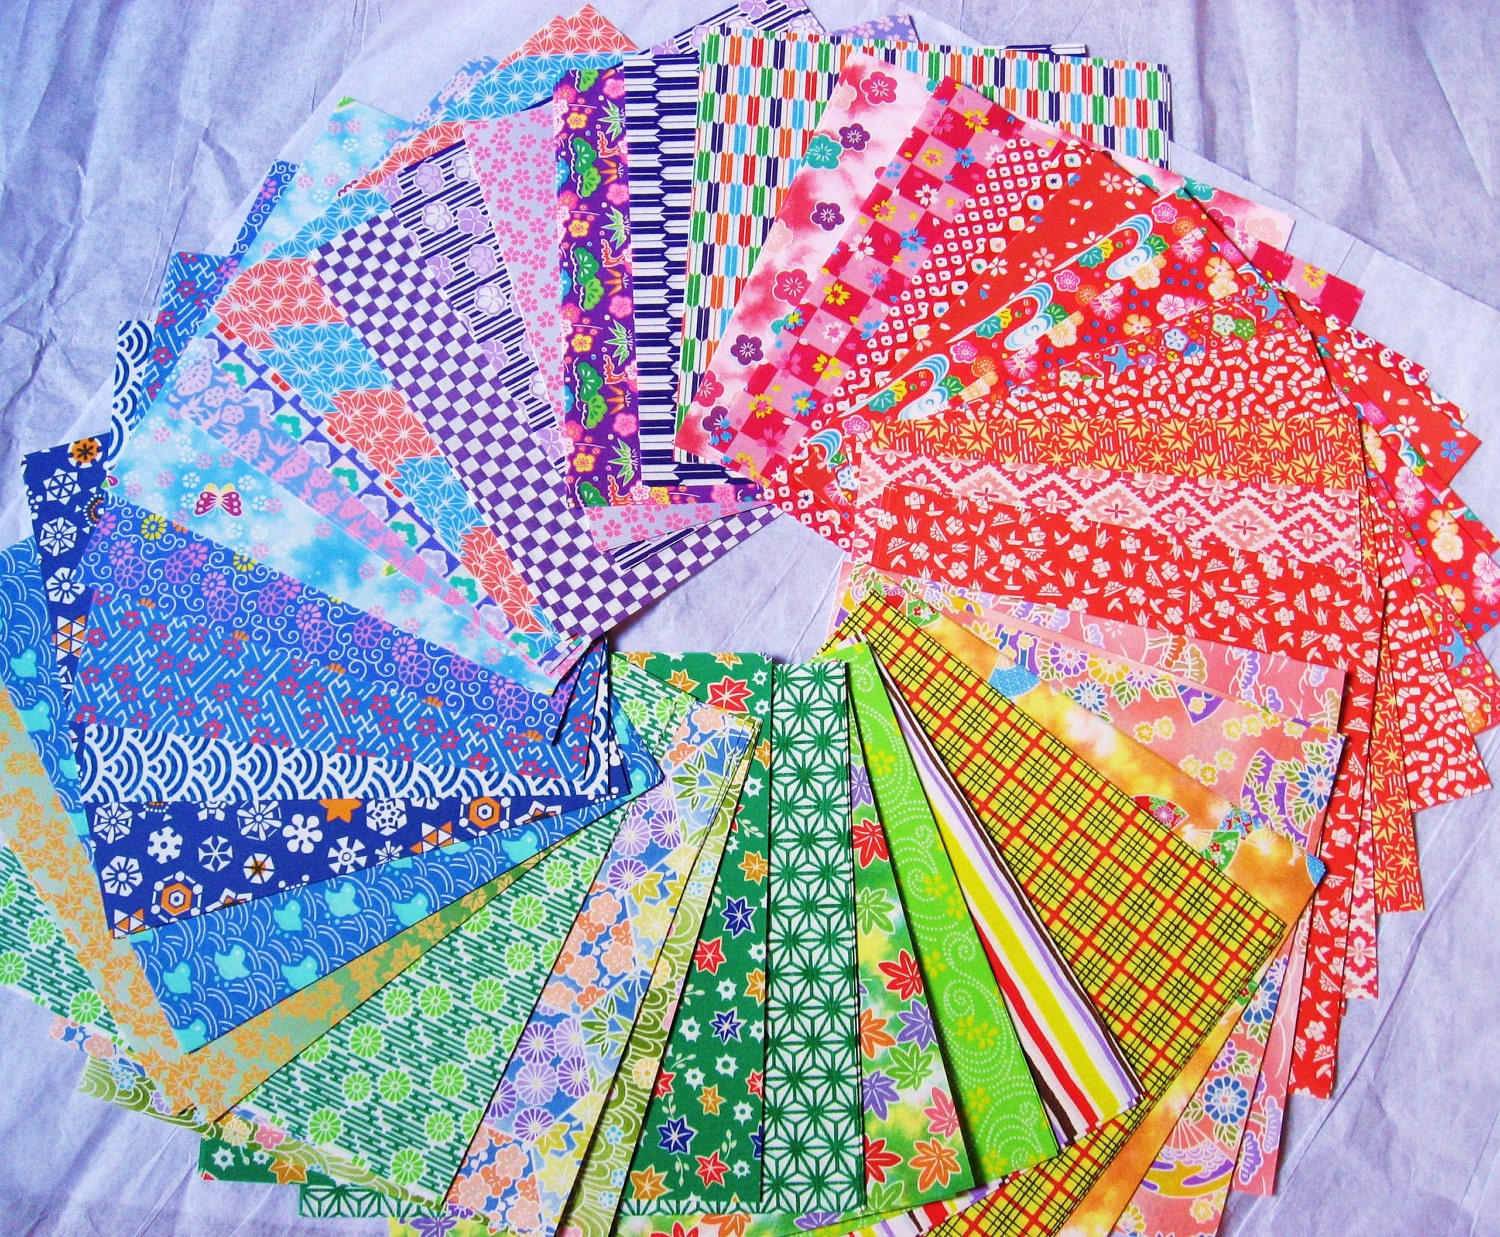
Chiyogami paper is origami paper made with traditional Japanese patterns. It used to be handmade, but is now usually machine made.
Wednesday, June 10, 2015
How To Fold An Origami Crane:
1. Start with a Square Base, with the open flaps facing down.
2. Valley fold the top layer horizontally from left to right, making sure the bottom layer is untouched. Unfold.
3. Flip the base over and repeat step 2.
4. Fold the flaps on either side of the top layer in to line the edges up with the crease down the middle. The top layer should like a kite.
5. Fold the top, enclosed tip down, just enough that it lines up with the top of the 'kite'. Unfold.
6. Flip over and repeat steps 4-5.
7. Holding down the bottom layer, begin to lift the top layer up, until it looks like a canoe shape. Flatten the canoe down, taking care that all the edges line up with the creases (note: the type of paper I was using was not typical origami paper, which is why it appears I had a little difficulty.)
8. Flip over and repeat step 7.
9. At the bottom of the model, you should notice it has little 'legs'. Fold the top layer of these 'legs' in, much like when you folded the kite shape.
10. Flip over and repeat.
11. Above the left leg, slightly hold apart the paper. Fold the leg into the opening, and then crease the opening back together. The leg will stay where it is, at about a 70 degree angle.
12. Repeat step 11 for the other side.
13. Choose one of the former legs (whichever one you choose is fine.) Fold the tip into itself, to make a head for your crane.
How To Fold An Origami Waterbomb/Triangle Base:
1.With the white/uncolored side of your paper facing upwards, fold a diagonal from the top right corner to the bottom left corner. Unfold.
2.Valley fold the top left corner diagonally to the bottom right corner. Unfold.
3.Flip your paper over so that the colored side is facing upwards.
4.Valley fold in half, from top to bottom. Unfold.
5. Flip your paper over so that the white/uncolored side is facing upwards.
6.Lightly press the middle of the horizontal fold and bring the opposite ends of the fold in, towards the bottom of the paper.
7.Flatten the paper onto itself.
How To Fold An Origami Square Base:
1.With the white/uncolored side of your paper facing upwards, valley fold the paper in half vertically. Unfold.
2.Valley fold the paper in half horizontally. Unfold. You should have a + pattern of lines on your paper.
3.Flip the paper over, so that the colored side of the paper is up.
4.Take one of the corners and valley fold it diagonally to the opposite corner. Unfold.
5.Flip the paper back over to the white/uncolored side. Rotate the paper so it is a diamond shape, with the diagonal fold you made in the previous step at a horizontal.
6.Lightly press the middle of the diagonal line, and start to fold opposite edges of the diagonal line into each other., pressing to the bottom of the paper.
7.Flatten the top of the paper.
Tuesday, June 9, 2015
Sunday, June 7, 2015
Thursday, June 4, 2015
Subscribe to:
Comments (Atom)


